A different (better) approach than my previous answer:
In Window->Preferences->C/C++->Editor,
In the right tab look for "Documentation tool comments", and in "Workspace default" set doxygen.
Now you can type /** above a function and press return.
/**
int foo(int bar);
becomes
/**
 *
 * @param bar
 * @return
 */
int foo(int bar);
===========================================================================
사용법은 아래와 같다.
새로운 프로젝트에서 doxyfile을 만들어야 한다.
File -> New -> Other ->Other -> Doxygen을 선택한 후에 원하는 project를 선택하면
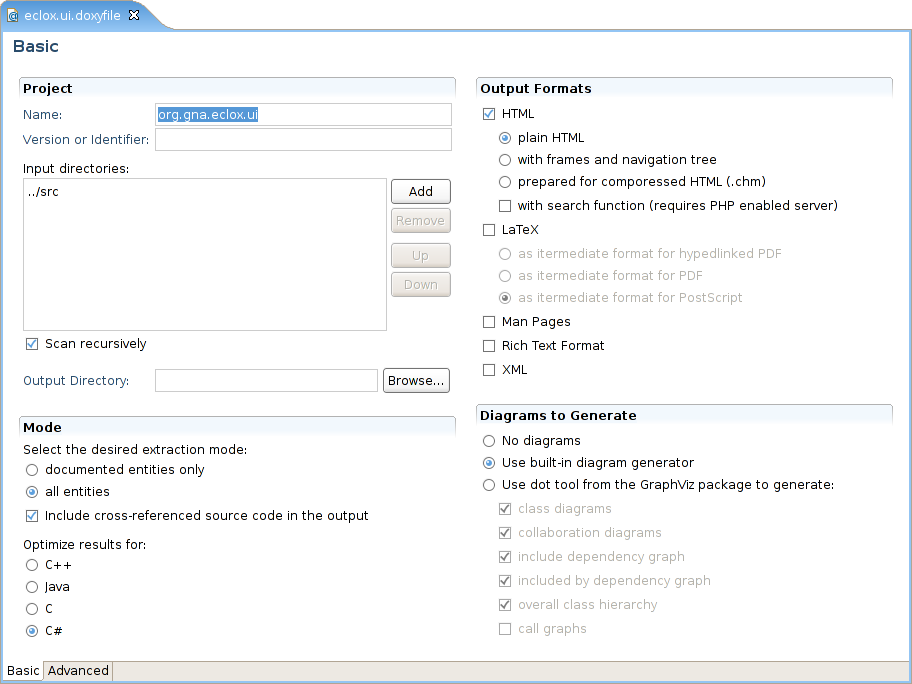
아래와 같은 화면을 볼 수 있다.
원하는 language 와 적용할 파일들의 패스를 지정한 뒤에
이클리스 메뉴 상단의 '@' 을 클릭하면 파일이 만들어진다.
Usage
You can create new Doxygen projects (also called doxyfiles) using the creation wizard. Go to "File->New->Other->Other->Doxygen Configuration". Press next and set both file location and name. Then a empty doxyfile will be created at the specified location, the wizard automatically adds the ".Doxyfile" extension.
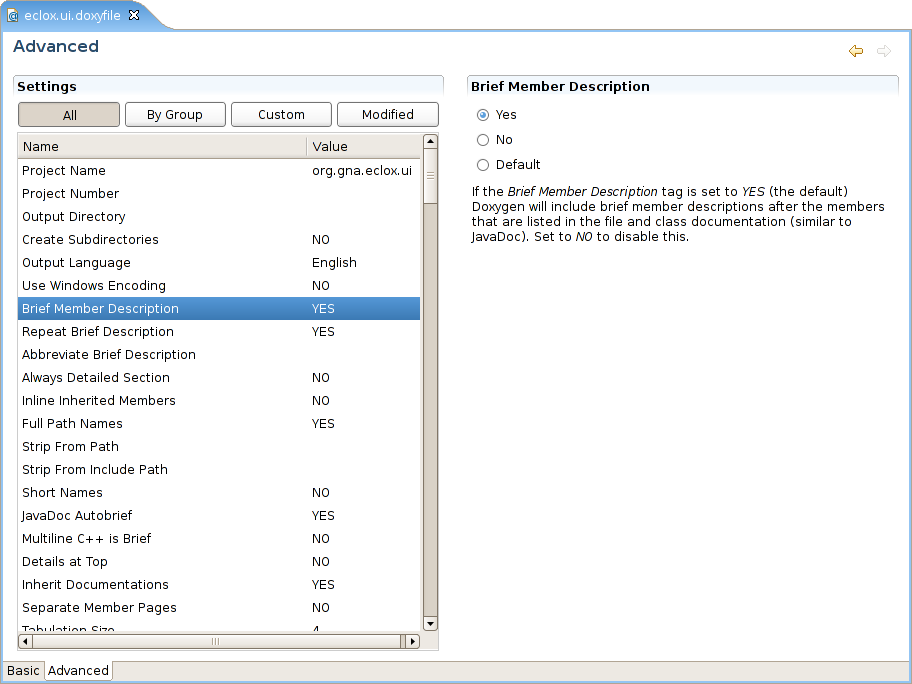
You should now see a file with a blue @-sign icon. This is your new doxyfile. Double-clicking on it will open the editor. You can now browse and edit the settings.
'Tools > Eclipse' 카테고리의 다른 글
| 이클립스의 텍스트 에디터에서 문서를 열지 못하고 기본 에디터로 문서가 열릴때. (0) | 2014.05.14 |
|---|---|
| eclipse multiple target patterns error (0) | 2014.04.04 |
| eUML 사용하기 (0) | 2011.10.07 |
| Allman 식 이클립스 Java 코딩 스타일 프로파일 (0) | 2010.05.30 |
| doxygen 사용하기 (0) | 2009.03.25 |


